
As I began to prepare for my vacation I wrote a to-do list which has been growing by the day. One item that was on the list was luggage tags and I thought of adding a personal touch and creating my own. It’s so simple! I began by creating my own template in Word and printing it on orange card stock. Follow these simple instructions to make your own luggage tags:
 Step 1: Create a template from Word with your information on it, and any design you like. Print your template on colored card stock and cut out each tag.

Step 2: Place tags at least 1 inch apart in laminating sheet leaving enough space for cutting. Once the lamination machine is hot, run the laminating sheet through and let the tags cool for 3 minutes before cutting.
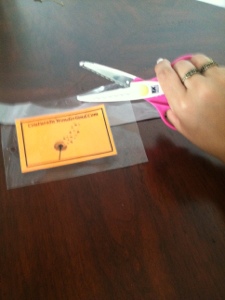 Step 3: Use squiggle scissors to cut the excess laminating sheet, and place one hole punch in the center of the tag.

Step 4: Weave long ribbon through hole punched tag and tie in bow through the handle.

